Setting Up Multifactor Authentication: A Step-by-Step Guide
Introduction to Multifactor Authentication
Multifactor Authentication (MFA) significantly enhances account security by requiring two or more verification methods to prove your identity. These methods include something you know (like a password), something you have (such as a smartphone app), and something you are (like a fingerprint). MFA is a powerful tool against unauthorized access, making it much harder for hackers to breach your account.
Benefits of Multifactor Authentication
- Enhanced Security: MFA adds an extra layer of security, making it difficult for unauthorized users to access your sensitive information.
- Reduced Risk of Data Breach: With MFA, the risk of a data breach is significantly lowered as attackers need to bypass multiple security measures.
- Increased Trust: Clients and employees can trust that their information is better protected, vital for maintaining a reputable business.
How MFA Will Be Used
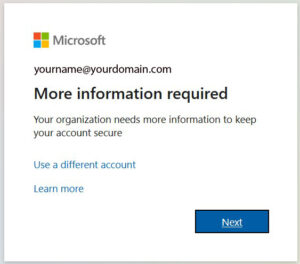
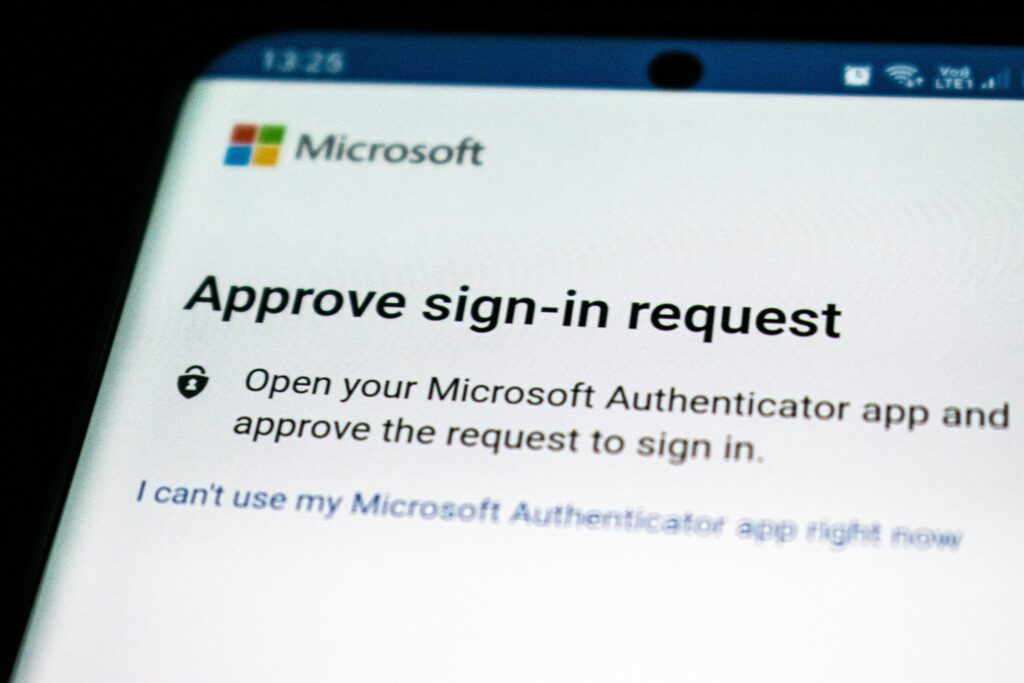
Each employee will use MFA to securely access services such as Microsoft 365 Email and WordPress Login. Upon entering your username and password, you’ll be prompted to enter a code or confirm a login attempt on your smartphone, adding an extra layer of security to the login process.
Recommended Multifactor Mobile Applications
- Google Authenticator
- Microsoft Authenticator
- Authy
Installing a Multifactor Authentication App
Step 1: Choose Your App
Select one of the recommended MFA apps to install on your smartphone. For this guide, we’ll use Google Authenticator as an example.
Step 2: Install the App
For Android Users:
- Open the Google Play Store.
- Search for “Google Authenticator.”
- Find the app developed by Google and tap “Install.”
For iPhone Users:
- Open the App Store.
- Search for “Google Authenticator.”
- Find the app developed by Google, tap “Get,” and then “Install.”
Step 3: Set Up the App
- Open the Google Authenticator app.
- If prompted, allow necessary permissions.
- Tap “Begin” to start setting up your first account.
Step 4: Link Your Account
- On your computer, navigate to the security settings of the service you wish to add (Microsoft 365 or WordPress).
- Choose to set up multifactor authentication and select “Authenticator App” as your method.
- You will see a QR code on your screen.

Step 5: Scan the QR Code
- On the Authenticator app, tap “Scan a QR code.”
- Use your phone’s camera to scan the QR code displayed on your computer screen.
Step 6: Verify Setup
- A 6-8 digit code will appear in your app. Enter this code on your computer to verify the setup.
- If entered correctly, your setup is complete!
Conclusion
Setting up Multifactor Authentication is a simple yet effective way to protect your and your company’s sensitive information. By following these steps, you can ensure that access to critical services like Microsoft 365 Email and WordPress is secured with an additional layer of security, giving you peace of mind and significantly reducing the risk of unauthorized access.

